16/August/2023 by Sophie
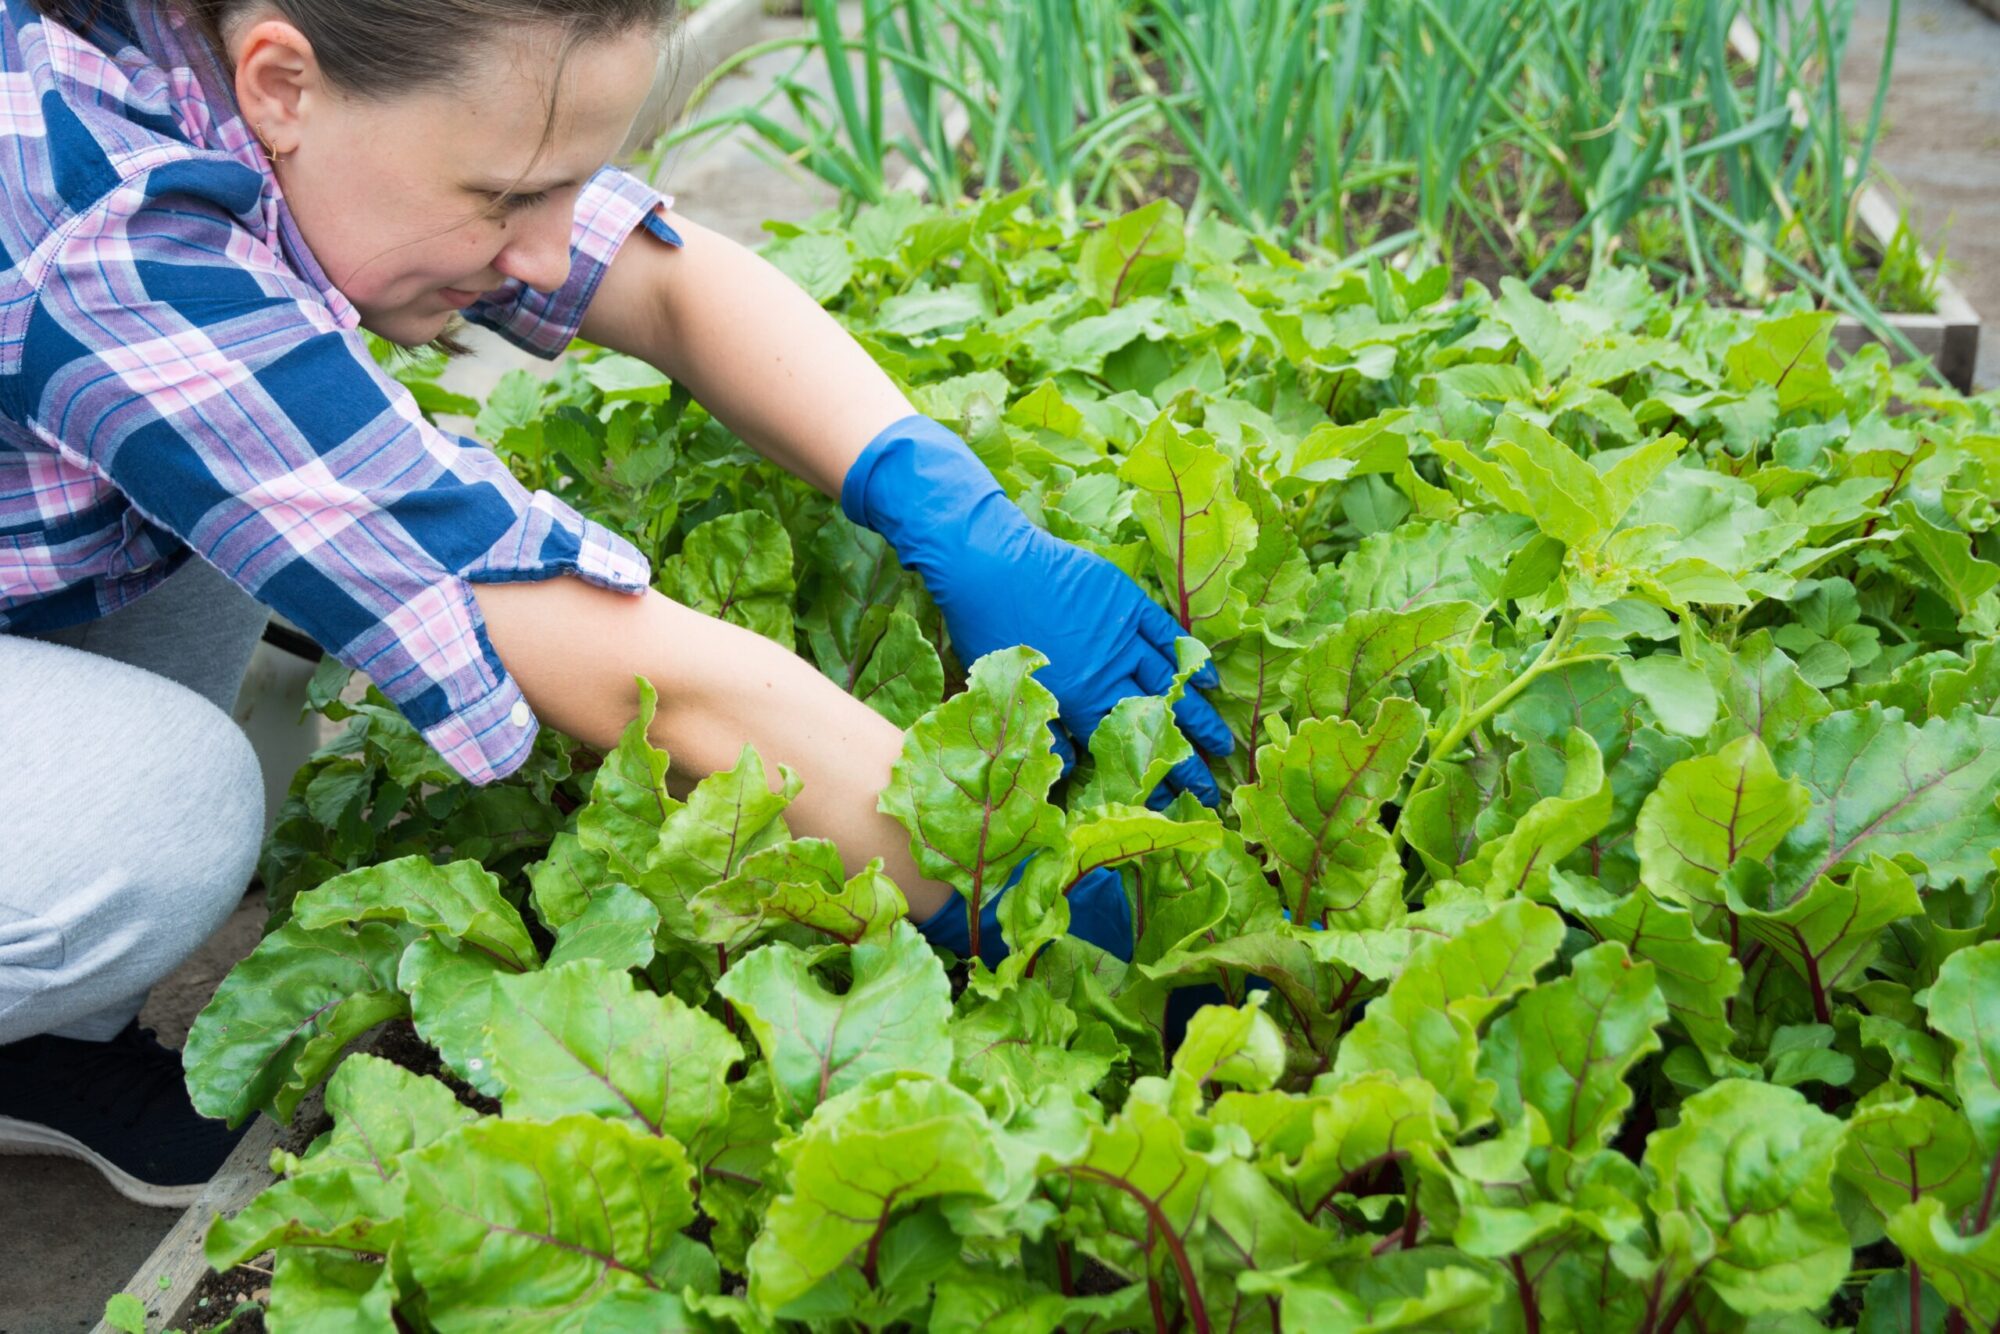
No-till, also called no-dig, gardening is a great way to help the soil while making gardening easier. It is a gardening style that has been made popular by many popular gardening names over the years, such as Masanobu Fukuoka, Charles Dowding, Ruth Stout, and Bill Mollison (to name just a few!). Instead of ploughing or digging, this method focuses on regenerating the soil naturally. And while the methods aren’t too complicated, learning where to get started can seem difficult. In this post you’ll find 4 different no-till methods that you can use to turn your lawn into a vegetable garden.
What is no-till?
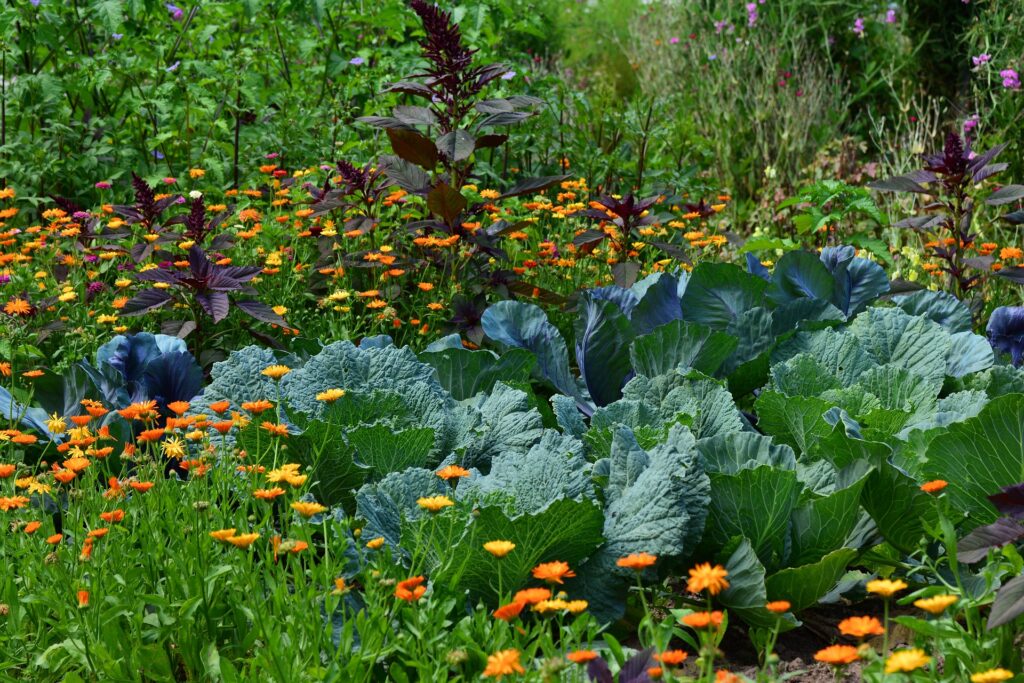
No-till a gardening approach that respects the delicate balance within the soil by prioritising minimal soil disturbance. Instead of digging into our garden beds and turning over the soil, we leave it be, allowing the helpful soil microbes to do their important work. No-till can not only make our soil healthier, but it also comes with several other advantages. It prevents soil erosion, which helps to keep the nutrients in place, making sure our garden can thrive. It also helps the soil retain water better, ensuring our plants stay hydrated, even when it’s dry outside. There are many different ways to start a not-till garden, but I’ve selected three easy no-till methods that vary in price and effort that you can use to transform your lawn into your very own vegetable garden.
When does tilling make sense?
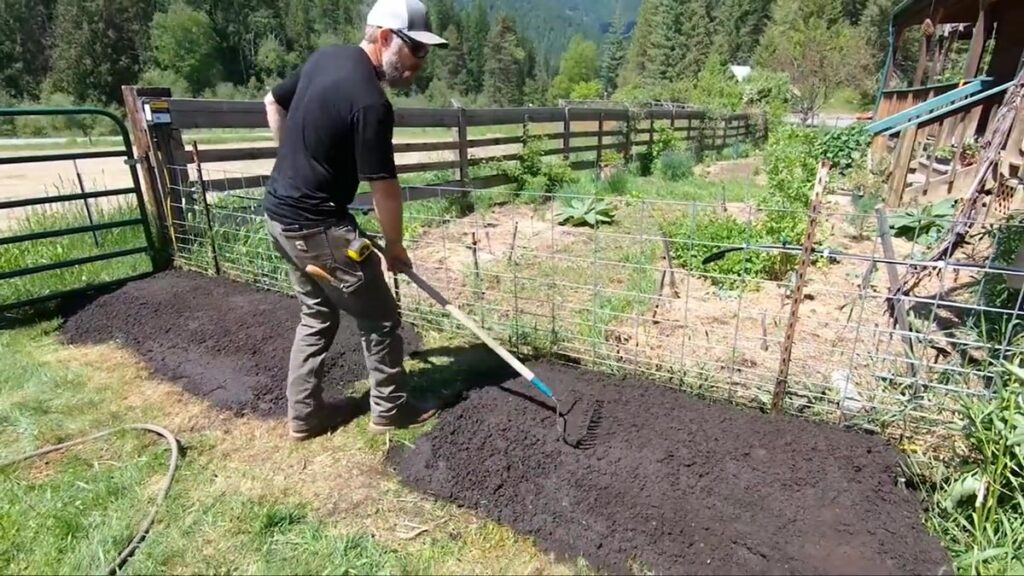
While tilling comes with its own downsides, there are moments when tilling might make sense. For example, I recommend an initial till if you are starting a new vegetable garden from your lawn and are looking to use your own soil instead of buying new materials. There’s a chance that your ground will be seriously compacted, which means your soil might be too hard to work with in the first year. If you do decide to do an initial till, be sure to work in organic matter like finished compost to gain some soil building benefit, and transition to a no-till method the following season. For existing gardens, however, I recommend minimal tilling, since it disturbs the soil’s structure and leads to eventual soil compaction.

Source: Bermix via Unsplash
1. Sheet Mulching Method
The sheet mulching method, often referred to as “lasagna gardening”, is a comprehensive no-till technique that involves layering organic materials to create a garden bed. Sheet mulching involves alternating between nitrogen-rich « green » compost materials, like kitchen scraps, coffee grounds, and fresh grass clippings, and carbon-rich « brown » materials, such as leaves, straw, and brown paper bags.
What I like about this method is that you can use your common household waste to build soil fertility – the layering process creates a nutrient-rich environment that supports plant growth. However, it is best started several months before you want to use the planting area. Fall is an excellent time to sheet compost as the material breaks down slowly over the winter and is ready for planting in the spring.
Steps:
- Cut the grass: Mow the grass as close to the ground as possible (keep the grass clippings)
- Place cardboard: Cover the lawn with cardboard or newspaper to suppress weed growth. Water the cardboard to encourage decomposition.
- Layer mulch materials: Alternate betwee4n « green » and « brown » compost materials. Each layer should be thoroughly watered to promote its degradation.
- Top with compost: At a 1-2” layer of compost on top of your beds.
- Pros: Utilises household waste, easy setup.
- Cons: Requires initial collection of compost materials, decomposition process takes a few months.
2. Instant Garden Method
When it comes to creating an instant garden, the focus is on speed and efficiency. While it’s similar to the Sheet Mulching method, the Instant Garden method from Homesteading Family offers an even shorter time frame on transforming your green lawn into a productive vegetable bed.
Steps:
- Cut the grass: Mow the grass as close to the ground as possible (keep the grass clippings)
- Lay down grass clippings and manure: Be sure to rake them evenly over your space and water the layer well.
- Lay down cardboard: Place a double layer of non-glossy cardboard over the prepared surface, and water the cardboard to help it break down faster.
- Add topsoil: Apply a layer of topsoil to create your planting bed. Rake the topsoil evenly and water.
- Top with compost: Complete your bed by adding a layer of compost top. Water well, and your garden bed is ready to plant!
- Mulch your garden bed: Once your seedlings have established themselves, you can keep your soil moist and the weeds at bay by adding a layer of mulch like grass clippings or straw on your garden bed.
- Pros: Simple, minimal labour, beds are ready to plant on the same day.
- Cons: Limited to shallow-rooted crops in the first year, materials can be expensive to source.
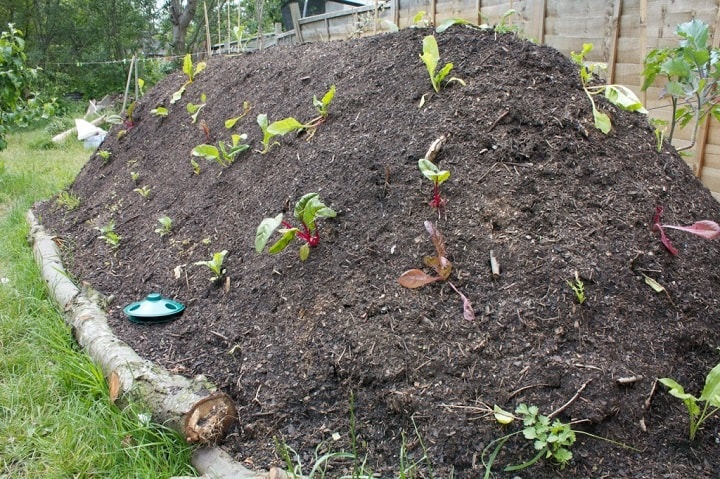
3. Hugelkultur Method
The Hugelkultur method presents a unique twist on no-till gardening by utilising woody debris and organic matter to create a raised garden bed with built-in fertility and water retention. As the materials break down over time, they release nutrients into the soil, creating a nutrient-rich environment for plant growth. The decomposition process also generates heat, which can extend the growing season in cooler climates.
Steps:
- Arrange Logs: Find a good spot for your garden. Place big logs on the ground as the base. Water well.
- Add Branches and Sticks: Put smaller sticks and branches on top of the logs, and water again. This layer helps air get in and makes things break down faster.
- Green Compost Layer: Spread a lot of nitrogen-rich green compost like grass clippings and kitchen scraps over the branches. Don’t forget to water!
- Compost Layer: Put some compost on top of the green mulch and water well.
- Top Soil: Finish by putting normal soil on top and water. Now you have a place to plant your veggies!
- Pros: Uses materials you can find in your yard, rotting materials feed soil for years, increased planting surface area, prolonged season from warmer soil temperatures.
- Cons: Takes years to fully establish, setup takes lots of time and energy.
Each of these no-till gardening methods offers a unique approach to turning your lawn into a thriving vegetable garden. If you’re looking for a quick solution and want to start planting this season, the Instant Garden method could be your best bet. Its simplicity and immediate readiness for planting make it a great choice. On the other hand, if you’re thinking long-term and want to build soil fertility over the years, the Hugelkultur method with its wood-based bed could be the way to go. Finally, if you’re willing to wait a bit and are planning for the next growing season, the Sheet Mulching method offers a comprehensive approach that utilizes household waste to enrich your soil gradually. Whichever method you choose, embracing no-till gardening practices can lead to healthier soils, improved water retention, and more sustainable gardening practices overall. Happy gardening!